Hi fellow craft and art lovers,
I thought I must share about my photography stunts that I did to get my pictures right.
As we all know (and as I have come to know very well), photography is THE one and only gateway for our online market. It is the first and most impression for online customers and helps boost sale.
I am not a very professional or good photographer myself, but being an artist, I do have a basic sense of how my photos should look like.
Initially I had to trouble my husband a lot (who is a wonderful photographer), to take pictures of my products with my Canon 550D. I used to show him reference snaps from my google search of similar products (and a lot of pestering of course!!!).
As I had a bunch of products in hand, my husband din't have much time and I had to put up my first stall immediately, I had to take pictures in a hurry, which I was not satisfied with. These were the first set of pictures I had posted on fb , but which have been removed now.They looked something like this...


In the back ground is a plain white handmade sheet.
But something was lacking.. I din't get the professional touch that I wanted..
So I further researched on my you tube videos and stumbled upon videos which confused me all the more and demanded quite a bit if costly purchases, which I wasn't ready for.
Climate is also a very important factor as early morning and evening natural light is best for photographers. I was deprived of this may a times due to constantly changing sunlight. I have experiences of many days where I had the best lighting but no time, enough time but left sitting idle with no proper lighting. This made me try various different light sources, but nothing gave me satisfying results.
The next set of pictures were slightly better off. They looked like this.. I managed to take these with natural light.


In the background, is a handmade jewellery display mannequin(for which I will be uploading a tutorial very soon!!!)
I recently decided to go full fledged on my online shop http://www.etsy.com/shop/SketchandString, for which I need more professional pictures and it isn't a feasible idea hiring a photographer.
I stumbled upon the below link, which was from etsy and was pretty helpful
I decided to give a plain white background for which I used my drawing sheets and voila!!!


My photoshop skills have helped me a lot to refine my pictures and get the perfect effect.
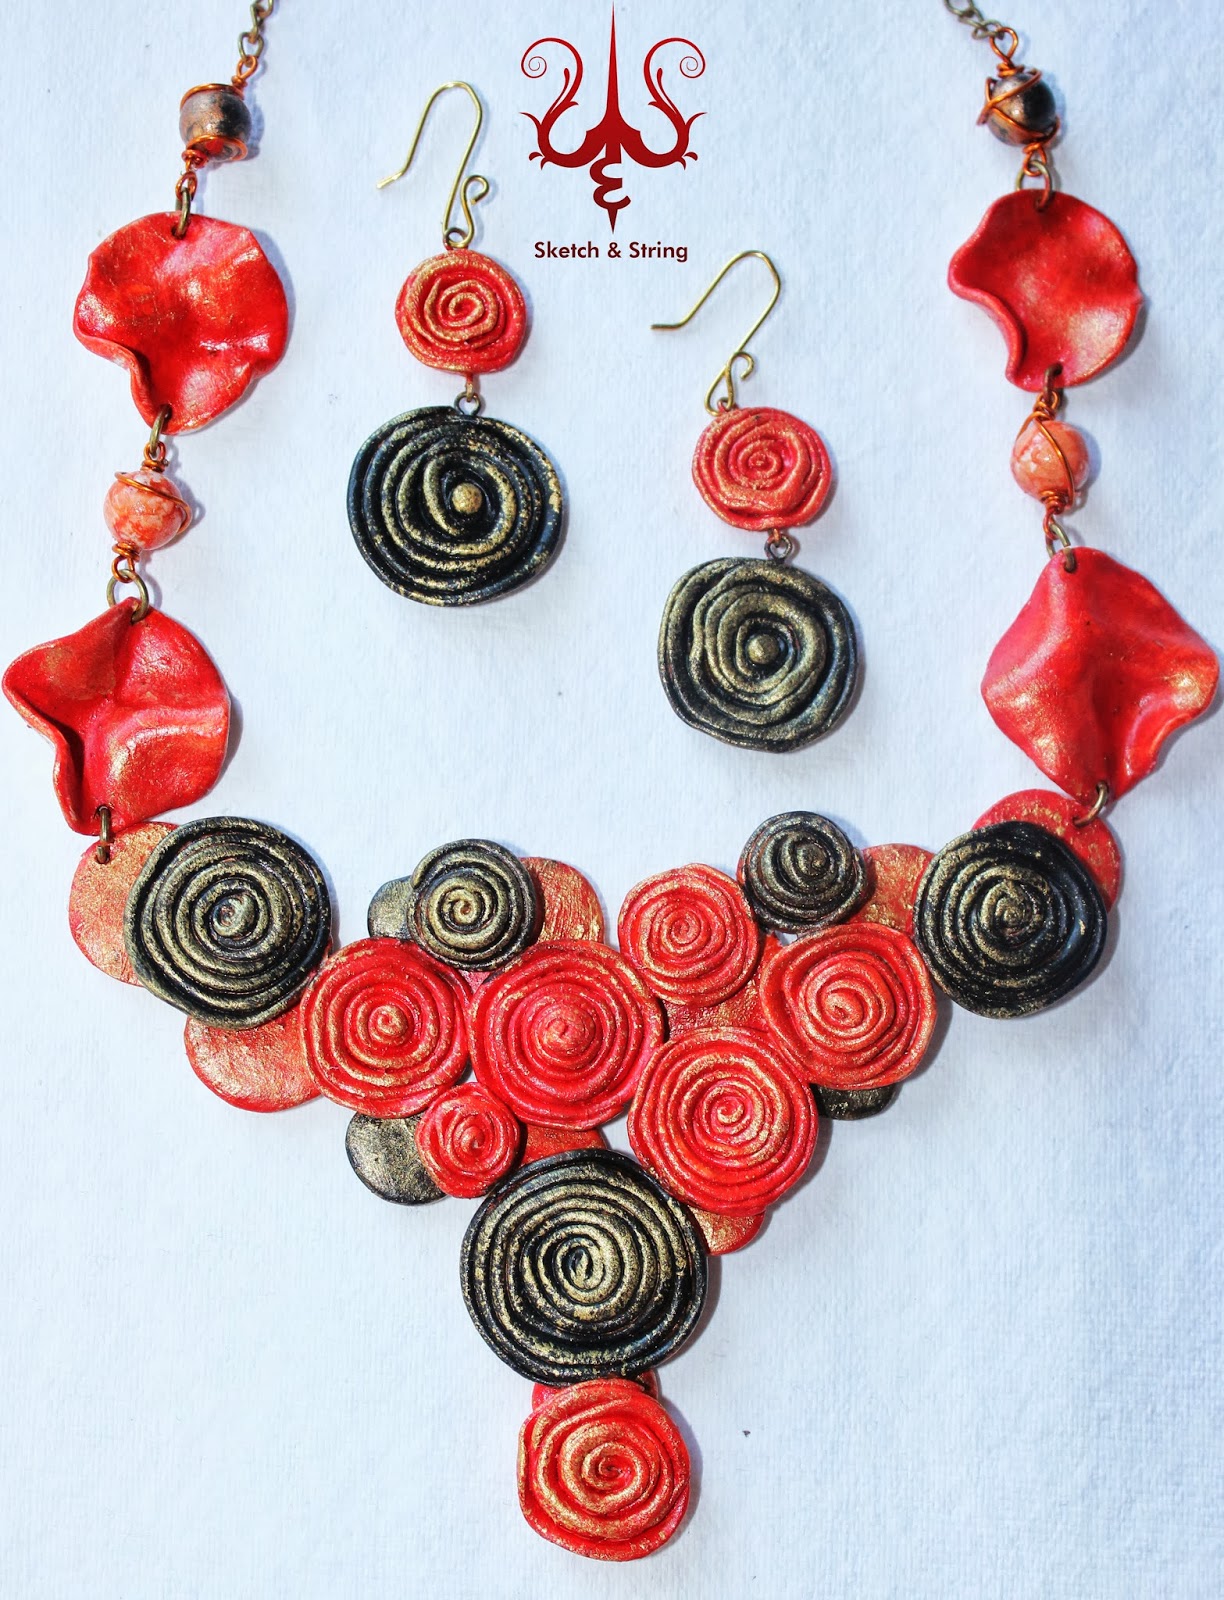
Now they definitely look really professional. Just the way that I want them to be. Promise to upload a step by step tutorial On how to get this picture perfect effect without much fuss!!
Below are pictures before and now
 |
| Before |
|
| Now |
Hope you enjoyed this article.. Will get reconnected very soon.
..Exploring..
Don't forget to pop in to my other blog http://nailomaniac.blogspot.co.uk/ to explore the world of nails, manicure, nail art and more.


